Hello and thank you for visiting my blog . I have not blogged for a while and then when I wanted too we had internet problems - big time ! Having no internet for a week or more was no fun I can tell you !
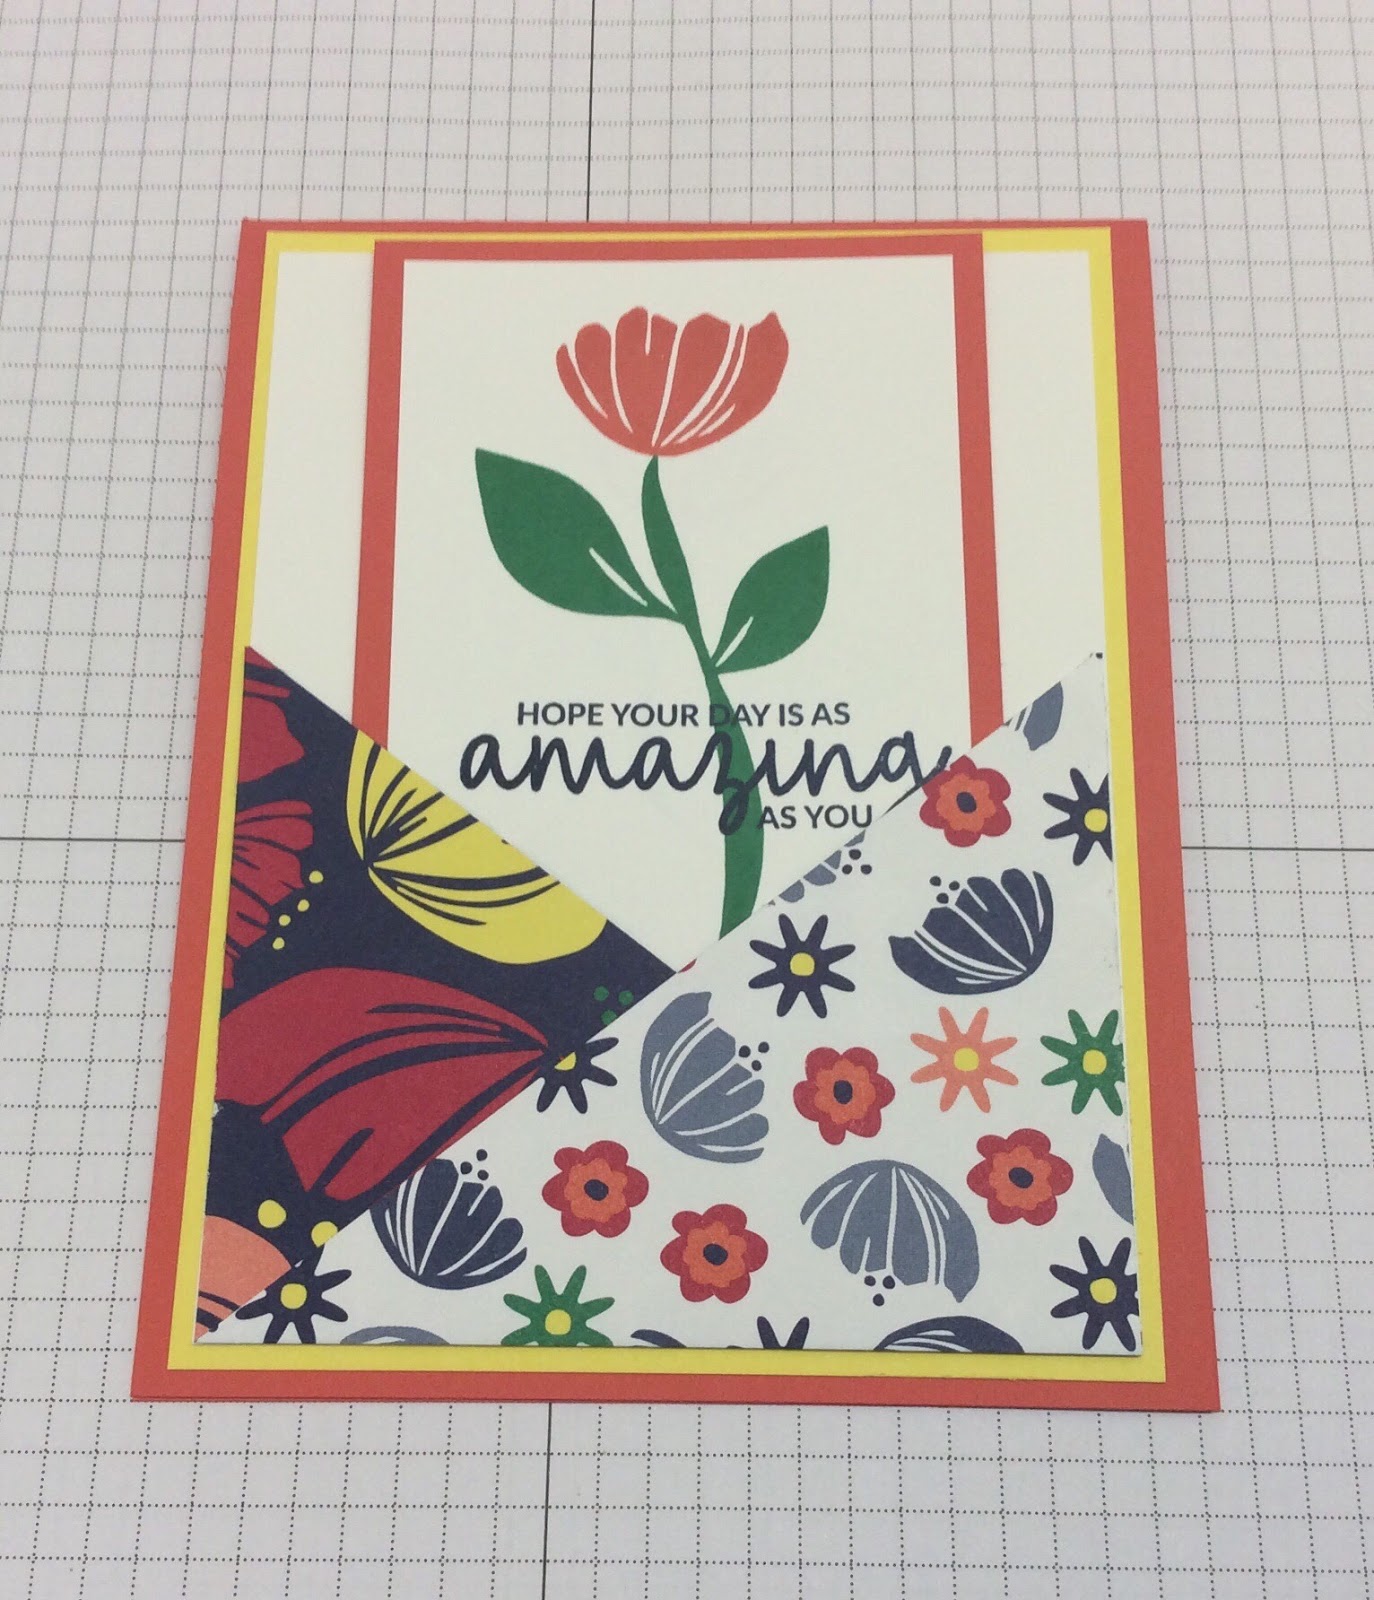
This week my class ladies created a triangle corner pop up card - try and say that fast ! I demonstrated this card on my Facebook Live
here and some of my very clever ladies had already made one of theses cute cards following my video !
I promised to blog and give the measurements as given by Jan B who 's you tube I watched to create my card .
Base 8 x 8 inches score at 4 inches in both directions , then score on the diagonal at the top of the card and cut up to the middle score line - watch the video for a visual image of how to do this .
2 x pieces Whisper White , 3 7/8 x 3 7/8 "
2 x pieces W.White 3 3/4 x 3 3/4 , cut in half on the diagonal
Main DSP , one piece 3 3/4 x 3 3/4 and one piece 3 1/2 x 3 1/2 , cut this piece on the diagonal .
Contrast DSP 3 1/2 x 3 1/2 , one piece , cut on the diagonal - you need to think about this step if using directional DSP , I hold my piece of DSP to the part of the card where I wish to put it and then make sure I cut the correct direction .
One piece of cardstock , colour of choice , cut at 6 " x 3 1/2 " , scored at 3 '' and 4 3/8 " - this is for your easel piece , you will then cut your circle with part of the die off the edge so that you'll have a folded piece rather than a cut piece - check video for visual instruction .
Here is the card I created in my video and we made a belly band for it using DSP 3/4 x 9 1/2 inches and card stock 1 ' x 9 1/2 inches .
The next project was a chocolate slider box and the class got to keep the chocolate too ! I cased Di Barnes tutorial to create this box and just adapted to the size of my block of chocolate , easy and thank you Di for sharing your project ! You can find Di's link
here
I adapted it for our blocks of lindt so mine measured 7 1/2 inches x 7 1/2 inches ,
scored at 1/2 " , 1 " , 4 " and 4 1/2 " , turn and score at 1/2 inches . making sure that the box will be up the right way if using DSP which is directional . Then follow the same procedure as shown in Di's tutorial . We used deleted DSP for our projects and the class projects were matching but mine were not .
I had made a larger one of these and gifted it at my launch and it fit a larger cadbury block - it measured 9 " x 8 1/2 , scored on the 9 1/2 inch side at 1/2 , 1 , 4 3/4 and 5 1/4 " , turn and score at 1/2" . I am sure you will have no worries working out a size to fit your stash of chocolate ! Keep in mind for the large size you will require 12 x 12 cardstock . We used DSP that was nice and thick , alms card stock weight , love that DSP and so sad its retired !
Here are some other cards in this style
I love this card style and thank Jan for sharing , you can see her video
here
Everyone really enjoyed this week's projects ! I hope you'll give them a try too !
I had asked the ladies to bring along their finished make and takes from my launch day on June 1 st and oh wow I have such a talented group ! Their cards were all so different and all so creative ! Well done ladies , I'm so proud of all of you !
Product List